In today’s highly competitive and ever-evolving world of culinary services, having a strong and well-crafted online profile is absolutely essential for attracting new clients and retaining existing ones. Your profile on the Chef4me App is far more than just a simple list of your professional credentials and experience—it serves as your digital storefront, your professional introduction to potential clients, and ultimately the key to transforming your passion for cooking into a successful and profitable business venture. To help you create a standout profile that captures attention and draws clients in, be sure to follow these seven crucial and carefully designed steps in no particular order.
Steps to Create an Irresistible Chef Profile on the Chef4me Chef App
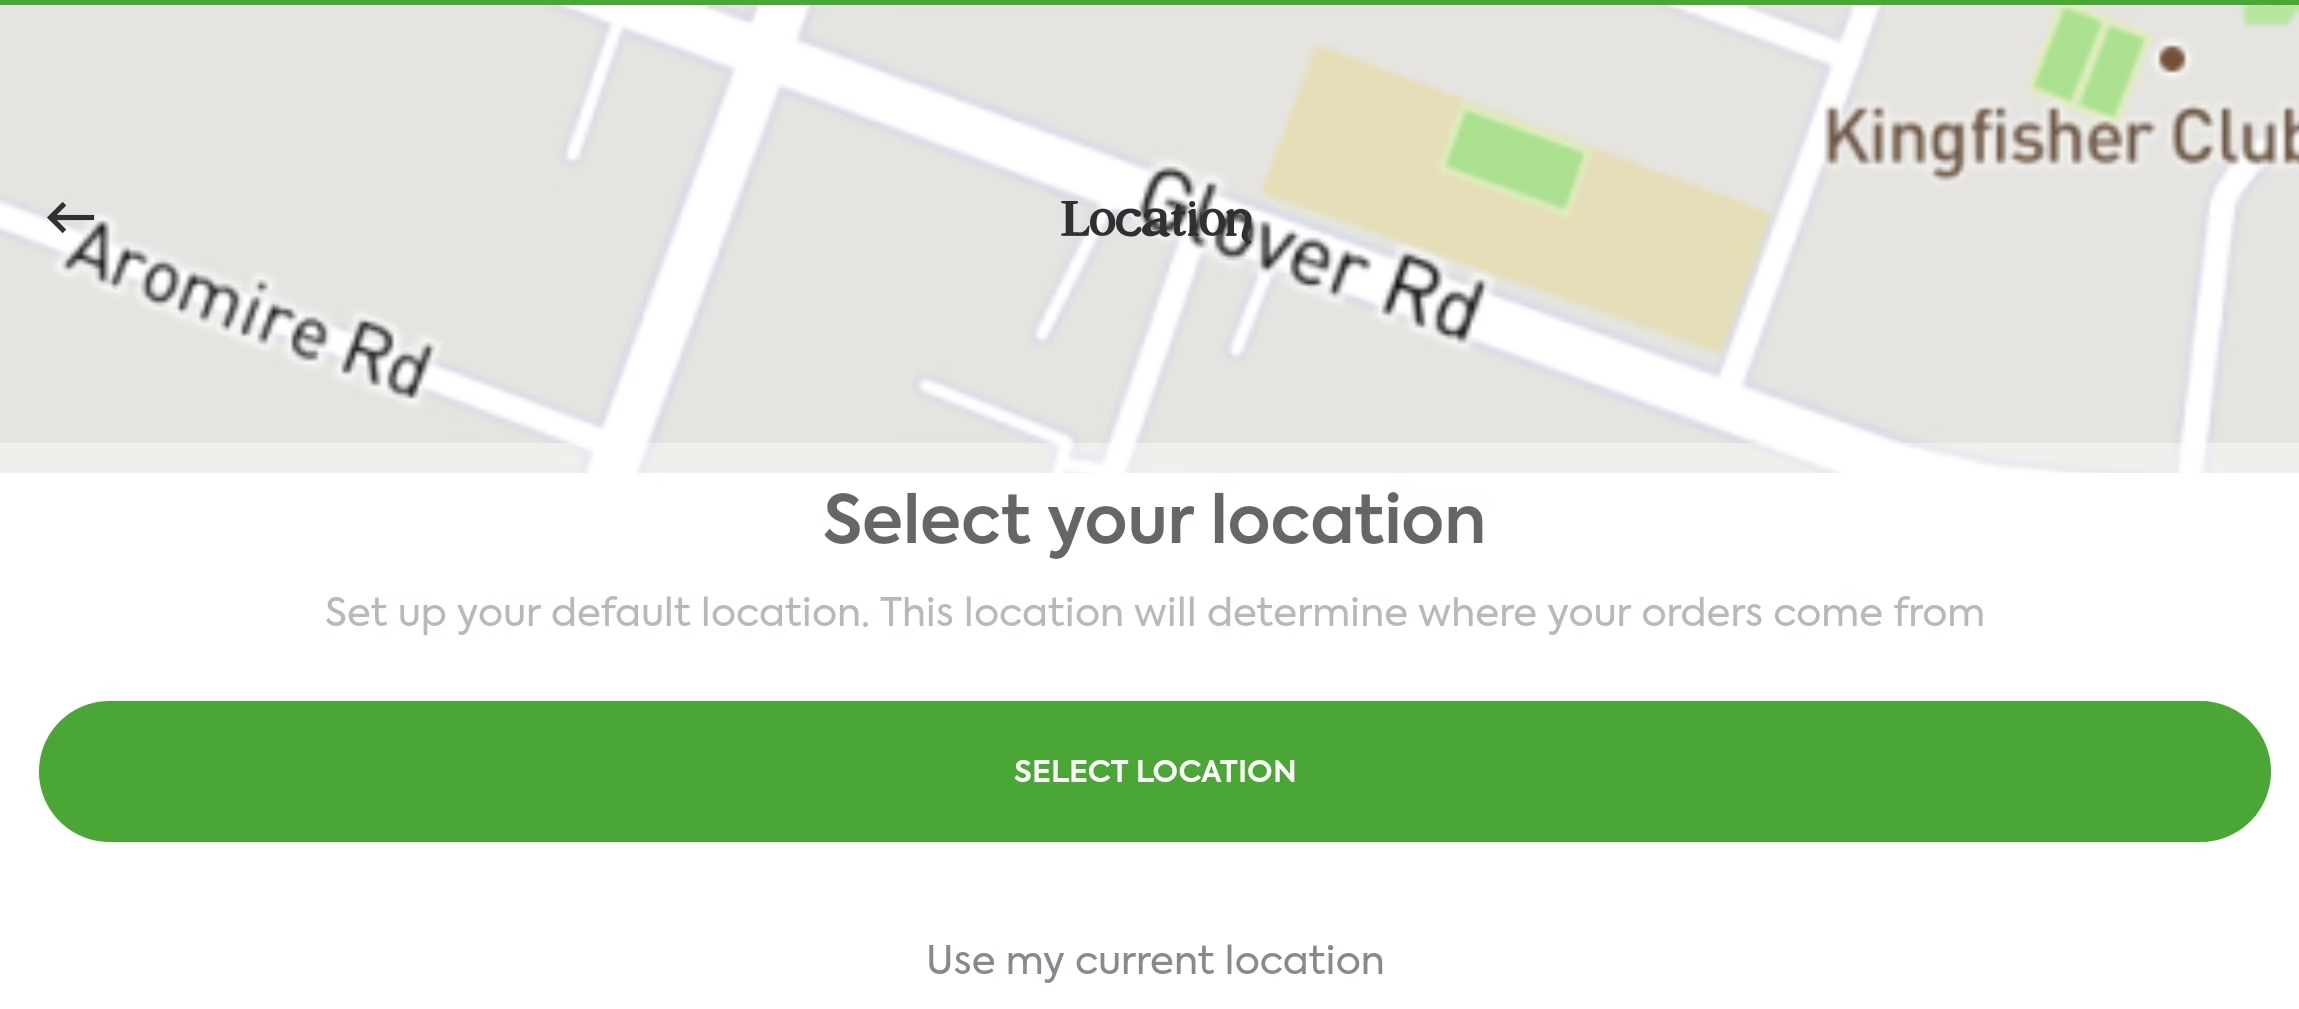
1. Set Your Location
Make it simple and convenient for potential clients to discover your services. By precisely setting your location information, you guarantee that your profile appears prominently in search results when clients look for catering or private chef services in your specific area. This accuracy significantly boosts your visibility and greatly enhances your chances of being hired by local customers seeking your expertise.
As you can see in the screenshot below, there are two ways to set your location either choose “Select location” button or click on the “Use my current location” button. The former needs to use a pointer to narrow down your location while the latter automatically gets your live location using the map geotargeting feature.
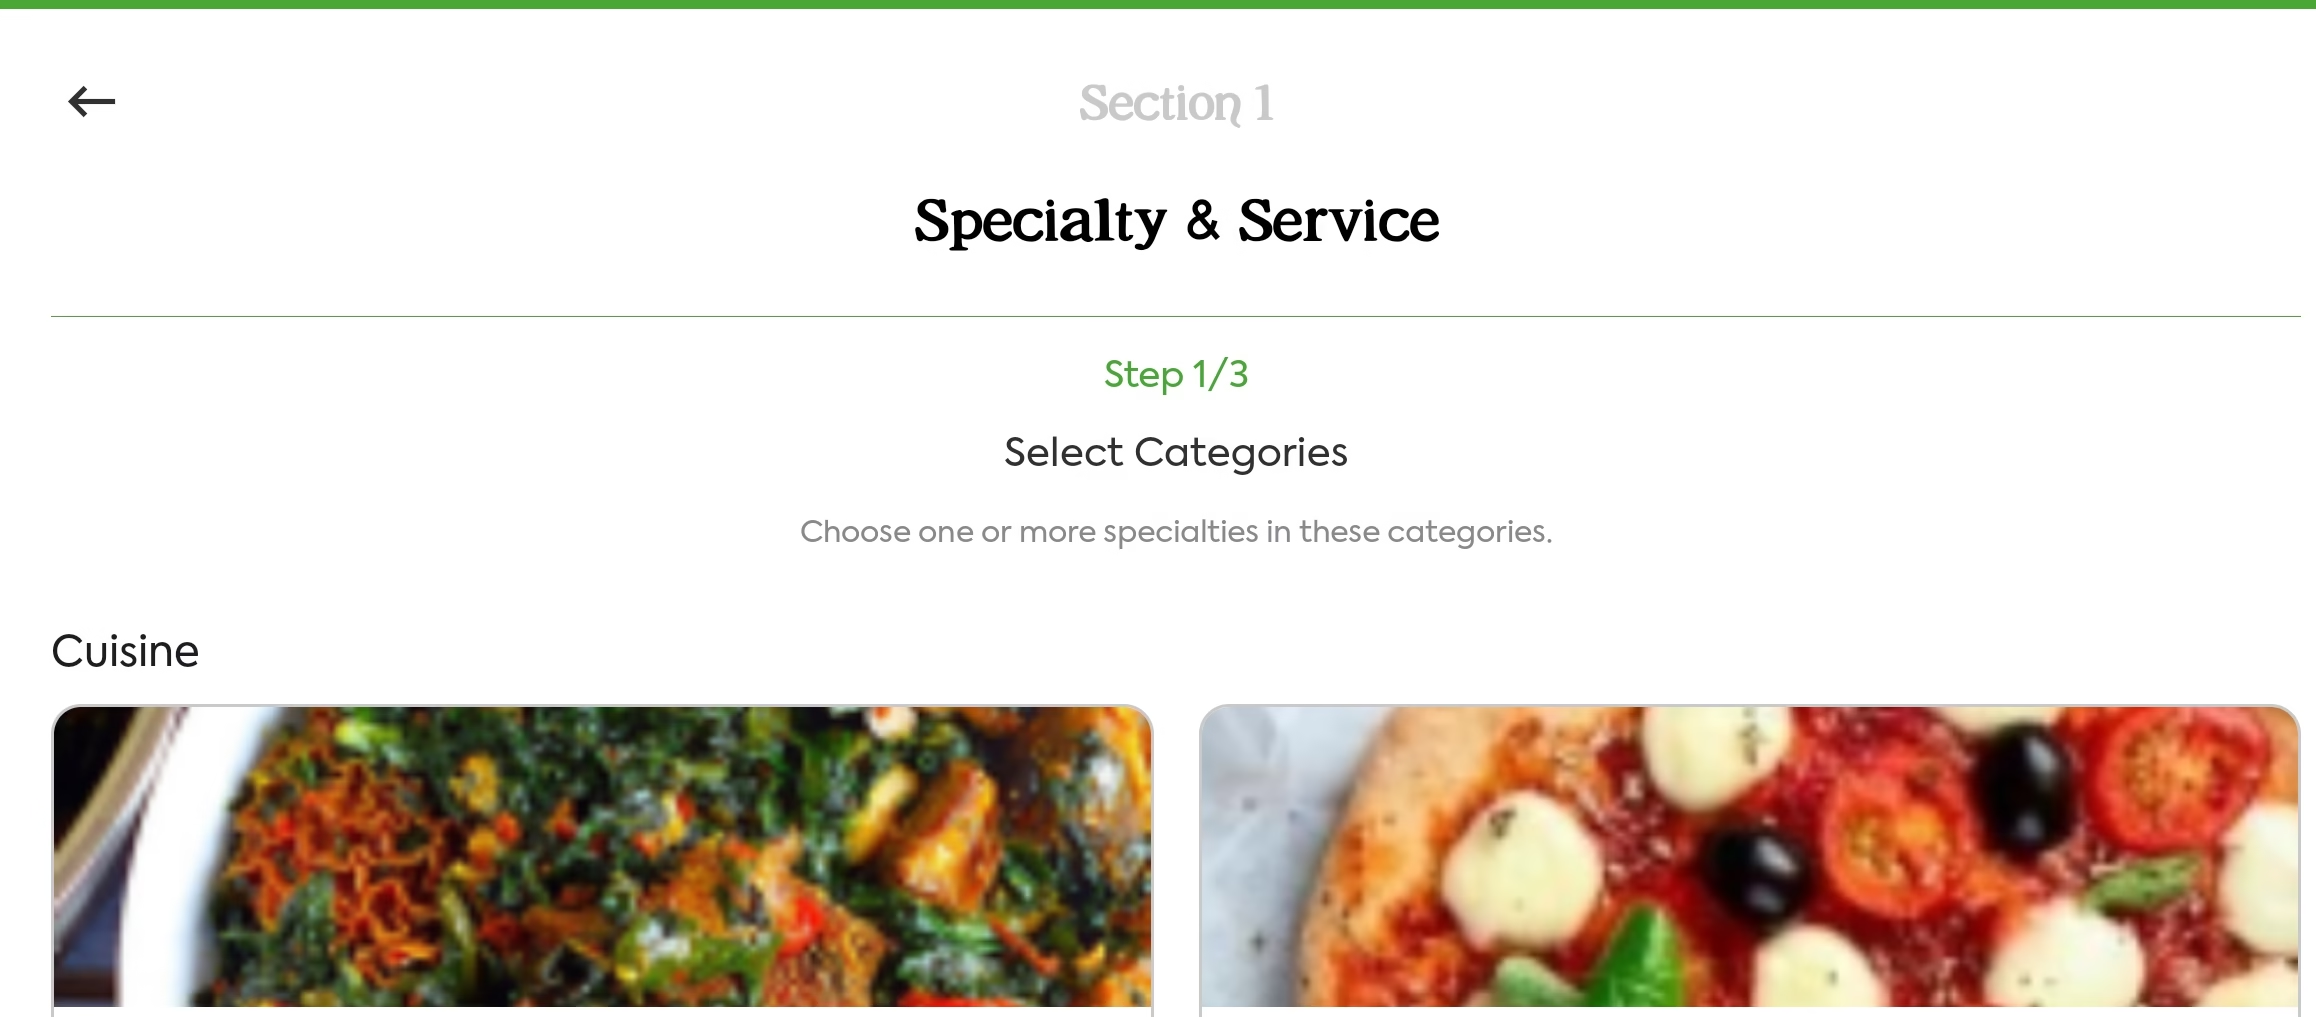
2. Select Your Meal Categories
Showcase your culinary range by selecting the specific meal categories you specialize in. Whether you’re an expert in cuisine, dietary, a master of gourmet Italian, or a pastry artist, clearly defining your categories helps you connect with clients looking for your specific skills. According to the screenshot, there are 3 sections in the specialty categories and ensure you tick the boxes that resonate with you.
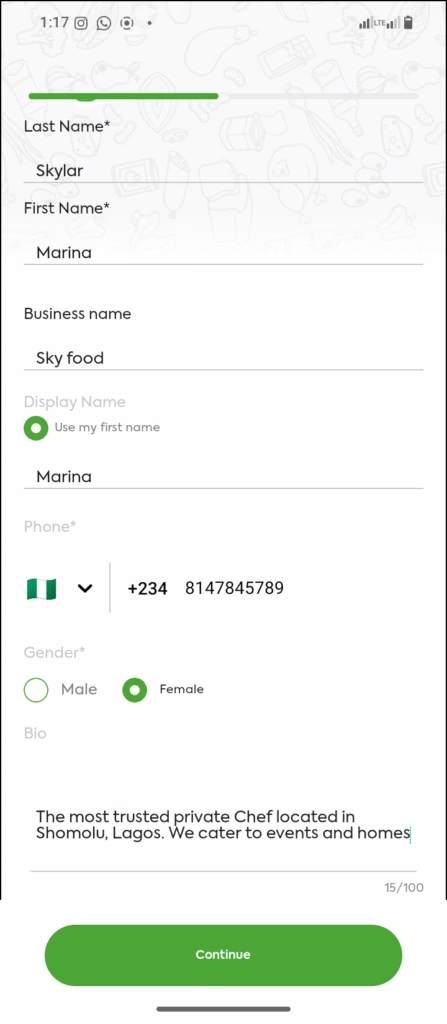
3. Update Your Bio and Service Type
Your bio is your personal story and an opportunity to connect with potential clients on a deeper level. Use this space thoughtfully to share the details of your culinary journey, highlighting the experiences and inspirations that have shaped your passion for food. Describe what drives you in the kitchen and what makes your cooking style truly unique and special. Be sure to clearly specify the type of service you offer, whether you are a dedicated “Private Chef” or provide comprehensive “Catering services,” so that clients have a clear and immediate understanding of what you can deliver to meet their needs.
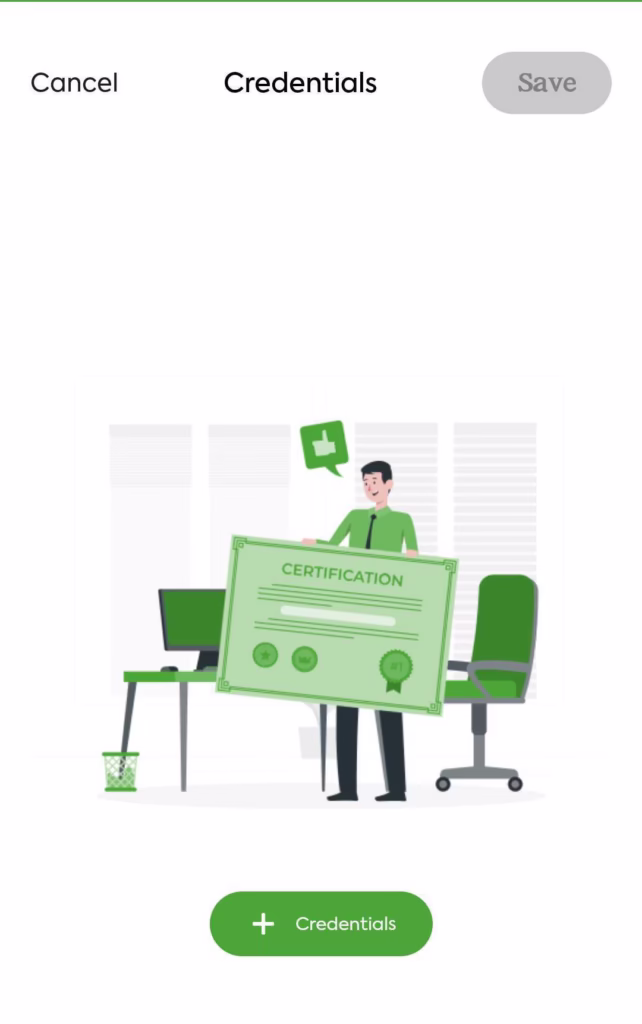
4. Upload a Valid Culinary Certification for Review
Building trust is absolutely paramount when establishing your reputation. We have had clients who just saw a profile pictures without certifications and start doubting both the chefs and our platform. By uploading your culinary certification, you not only validate your expertise but also demonstrate your commitment to professionalism in the field. This straightforward yet important step offers peace of mind to clients, reassuring them of your qualifications and skill level. It effectively sets you apart as a highly qualified and credible professional who takes their craft seriously.
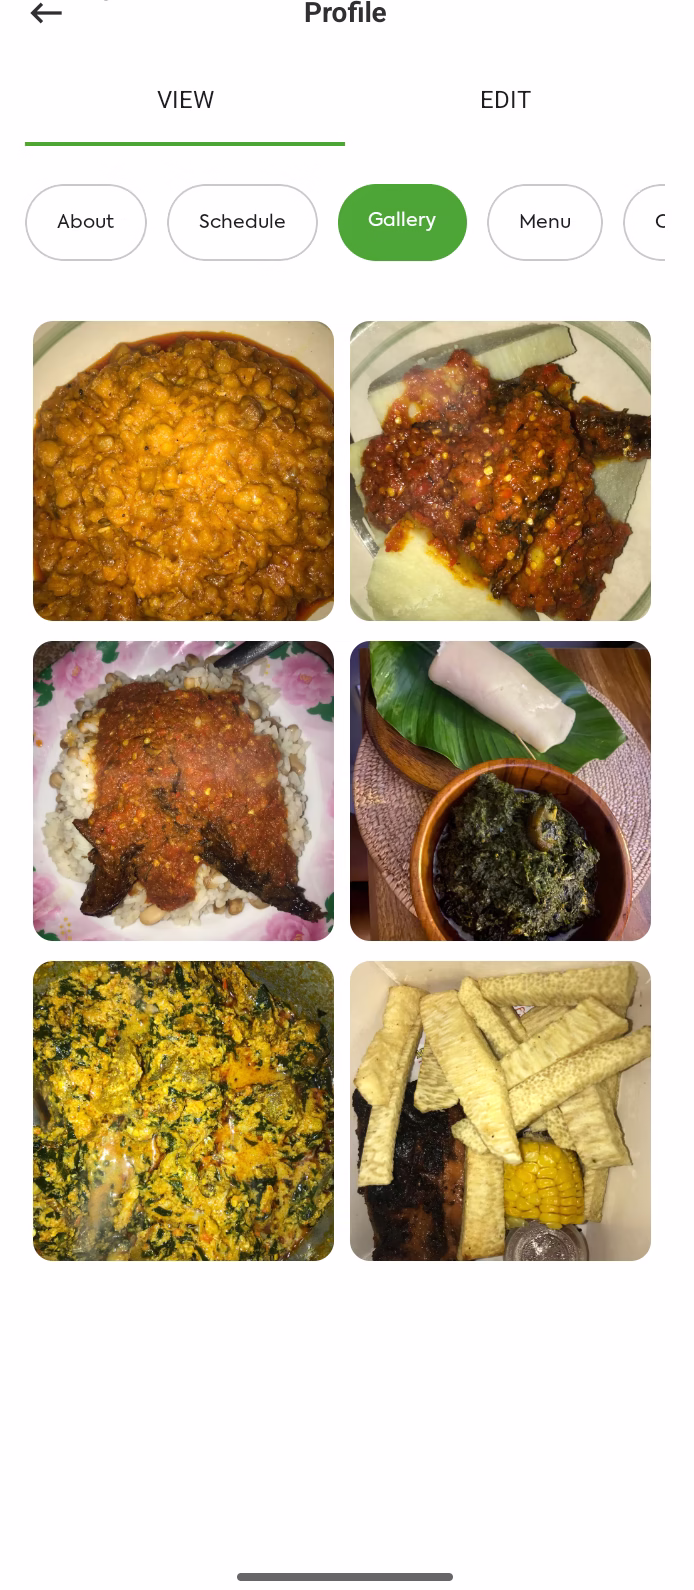
5. Set Up Your Menu and Gallery
This is the place where your hard work truly speaks for itself and leaves a lasting impression. Design an enticing and carefully curated menu that highlights your absolute best dishes, showcasing the unique flavors and creativity behind each plate. Be sure to upload high-quality photos to your gallery that capture the essence and appeal of your culinary creations. e.g. an image of your delicious Jollof Rice or Afang soup you previously made.
This thoughtfully arranged gallery of your food is often the key deciding factor for potential clients, so make sure to showcase your skills and passion with stunning, mouth-watering visuals that draw people in and make them eager to taste your offerings.
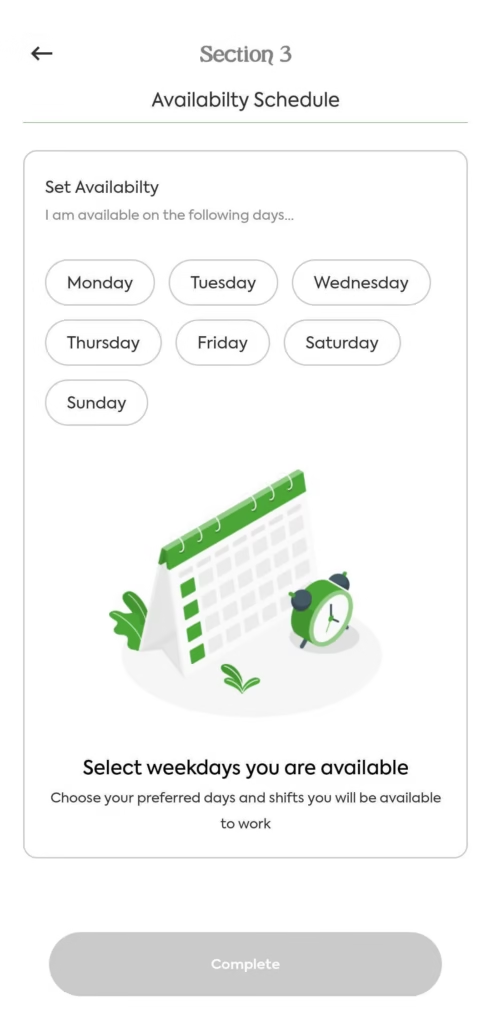
6. Set Your Preferred Hourly Rate
Be completely transparent and upfront about your pricing structure. Clearly setting and communicating a specific hourly rate enables potential clients to quickly and easily understand the costs associated with your services. This clarity not only builds trust but also helps you attract clients who are well-suited and aligned with your business system, ensuring a smoother working relationship and better project outcomes.
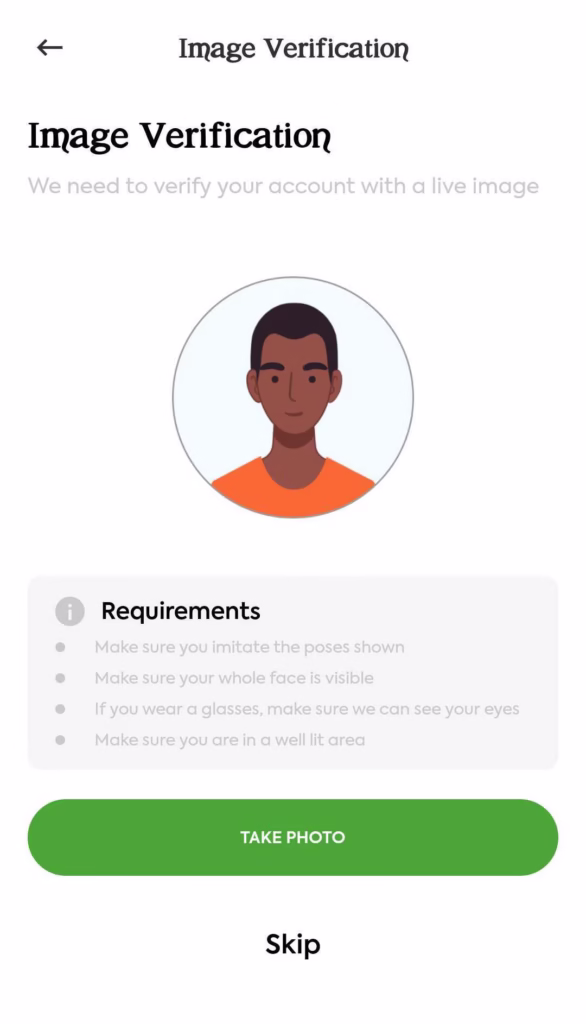
7. Update Your Chef Photo ID
A professional headshot serves as your very first handshake with potential clients and colleagues. Having a clear, high-quality photograph of yourself dressed in your chef’s attire not only establishes a sense of professionalism but also builds trust and confidence. This visual introduction helps clients feel more connected to you on a personal level, making it easier for them to relate to you and feel assured in your skills and expertise.
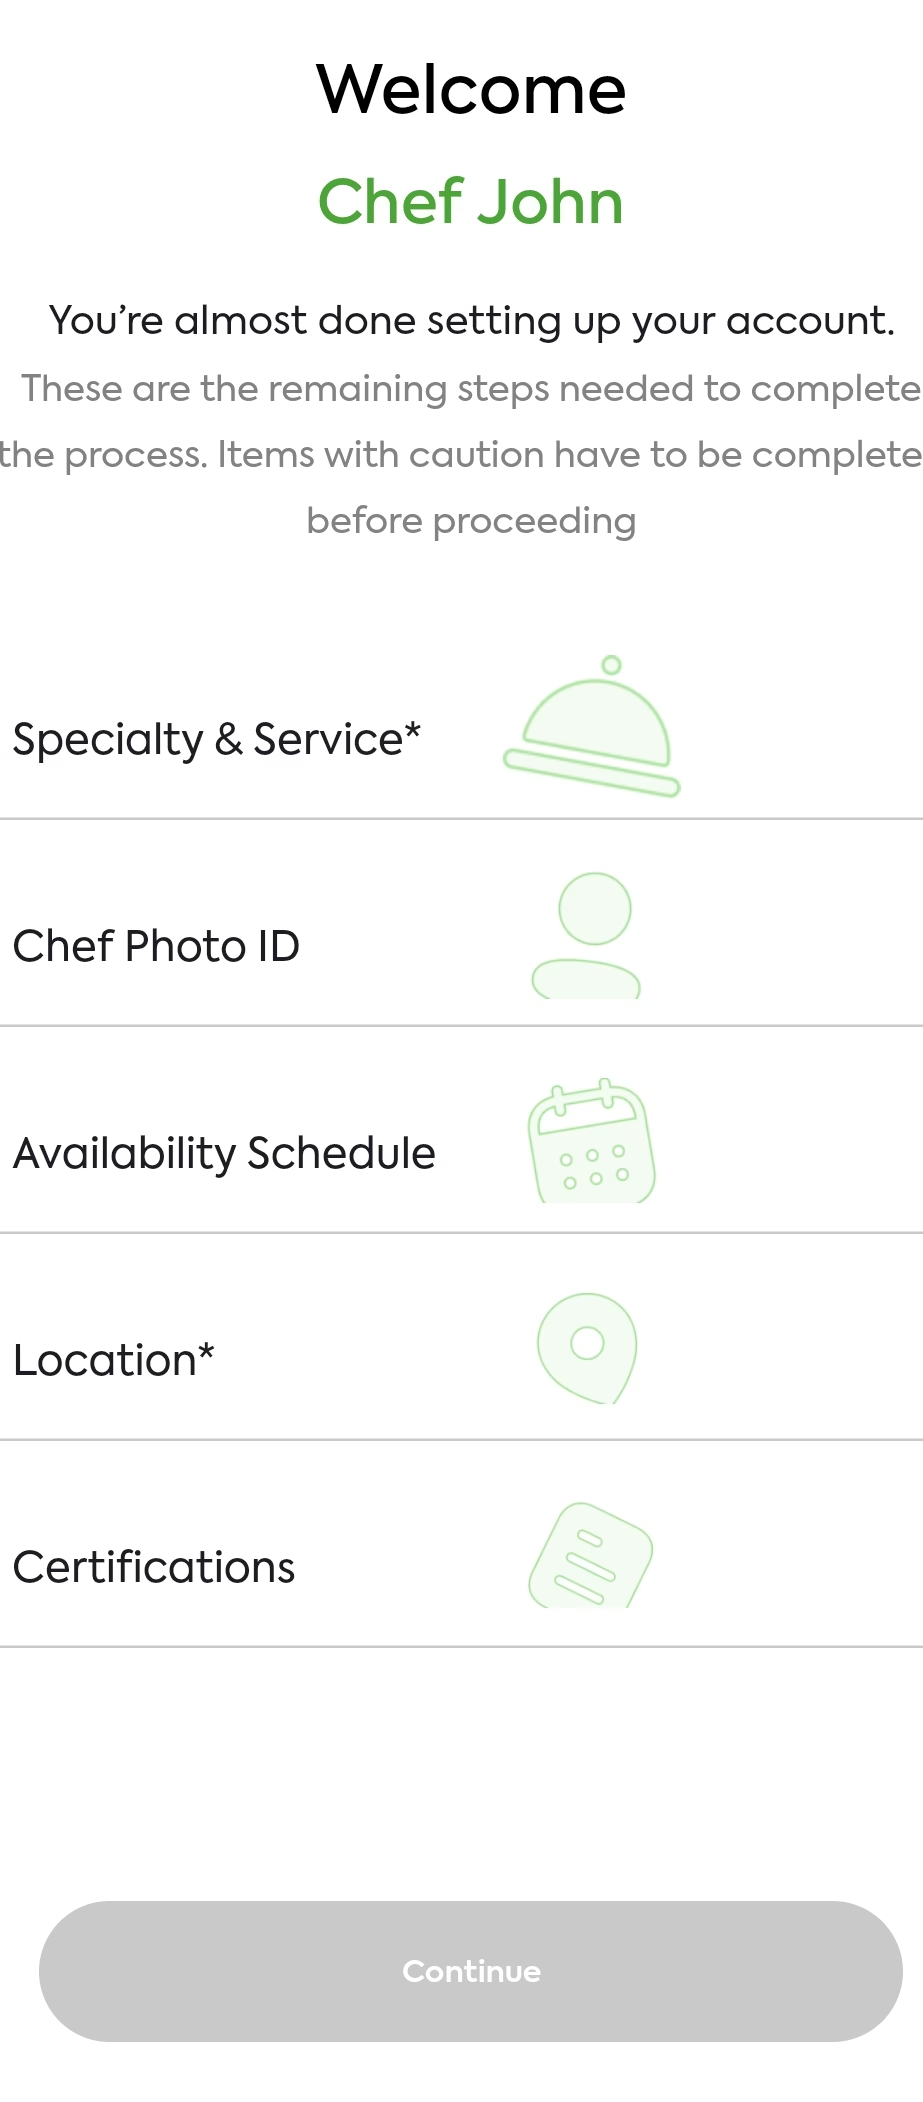
By completing these steps, your profile will be fully set up and optimized to attract new clients. You’ll be ready to start receiving orders and turning your culinary expertise into a successful venture on the Chef4me App.
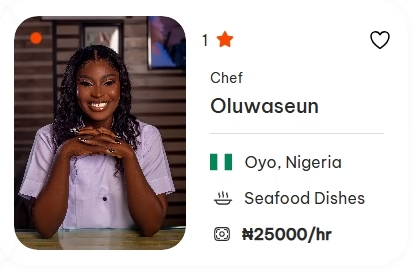
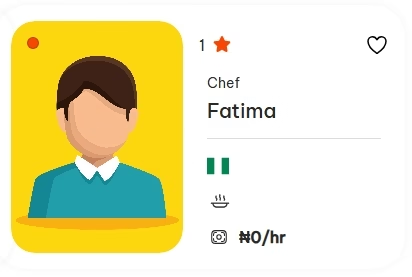
How a Complete Chef Profile appears on our platform vs an Incomplete Chef Profile
Incomplete Profile
FAQs– Everything you need to know about setting up your Chef Profile
Q: Do I need to be a Certified Chef to create a profile?
Chef4me has put into consideration the fact that not everyone who loves and enjoys cooking has a form of certification, this is why Chef4me has introduced a Learning Hub where individuals who are passionate about the culinary world can take professional courses and get certified. The certification bagged at the end of courses could be uploaded for verification on the Chef4me Vendor app.
Q: How long will it take for my uploaded Certification to be reviewed on the Chef4me App?
It takes less than or at most 24 hours to review and approve/reject certifications on the Chef4me App. Be rest assured that certifications will be reviewed within the stipulated time.
Q: What happens when I select my meal categories? Will it deter me from receiving orders outside from my selected meal categories?
Selecting your meal categories just shows clients what you can do best. This means that when a client places an order for a meal that you have selected in your meal categories, you are displayed higher up in the result list. It won’t deter you from receiving orders outside your categories.
Q: How do I get paid for my services?
Payment methods and schedules are managed through the Chef4me platform to ensure a secure and transparent process. Once a client books your service, the payment is processed, and your earnings are transferred to your account bearing your registered name.
Q: What if I don’t have a professional culinary certification?
If you are self-taught or have extensive experience without formal certification, you need not worry, Chef4me has made room for you via our Learning Hub. Simply register and take courses to become certified. Also, focus on building a strong gallery of high-quality food photos and a detailed menu to showcase your skills and experience.
Q: How long does it take for my profile to be fully set up?
Once you complete all seven steps on your settings page, your profile will be submitted for a review, which takes at most 24hours. After your information is verified, your profile will be live, and you can begin receiving orders immediately.
Jay is a creative and innovative spirit with a flair for coming up with engaging and helpful lifestyle content. On his happy days, he can spend his whole day making sumptuous delicacies while on the anxious days, he sleeps it out.